A few years ago, I finally applied for (and received) global entry. It was difficult to get the appointment at Boston's Logan Airport though, so I didn't get the Global Entry for my kids. I just didn't want them to have to miss school for their appointments.
As you may know, global entry is required for any family member who is looking to use the global entry line at U.S. Customs and Border Patrol, even children. So, once or twice a year on international family trips, I figured that we would have to go through the regular US customs line.
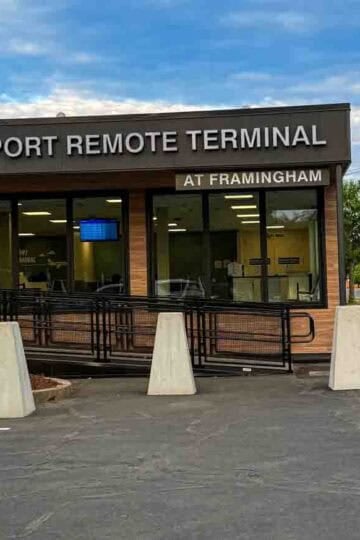
Luckily, during one of my semi-regular trips to Logan, I saw a sign for the Mobile Passport Control (MPC) App. The CBP MPC app is a great way to get through customs quickly, but it is only available for use at certain US Customs and Border Protection locations.
Mobile Passport is a great alternative to global entry, especially for families who only occasionally travel internationally, and is one of the best-kept secrets for saving time at the airport.
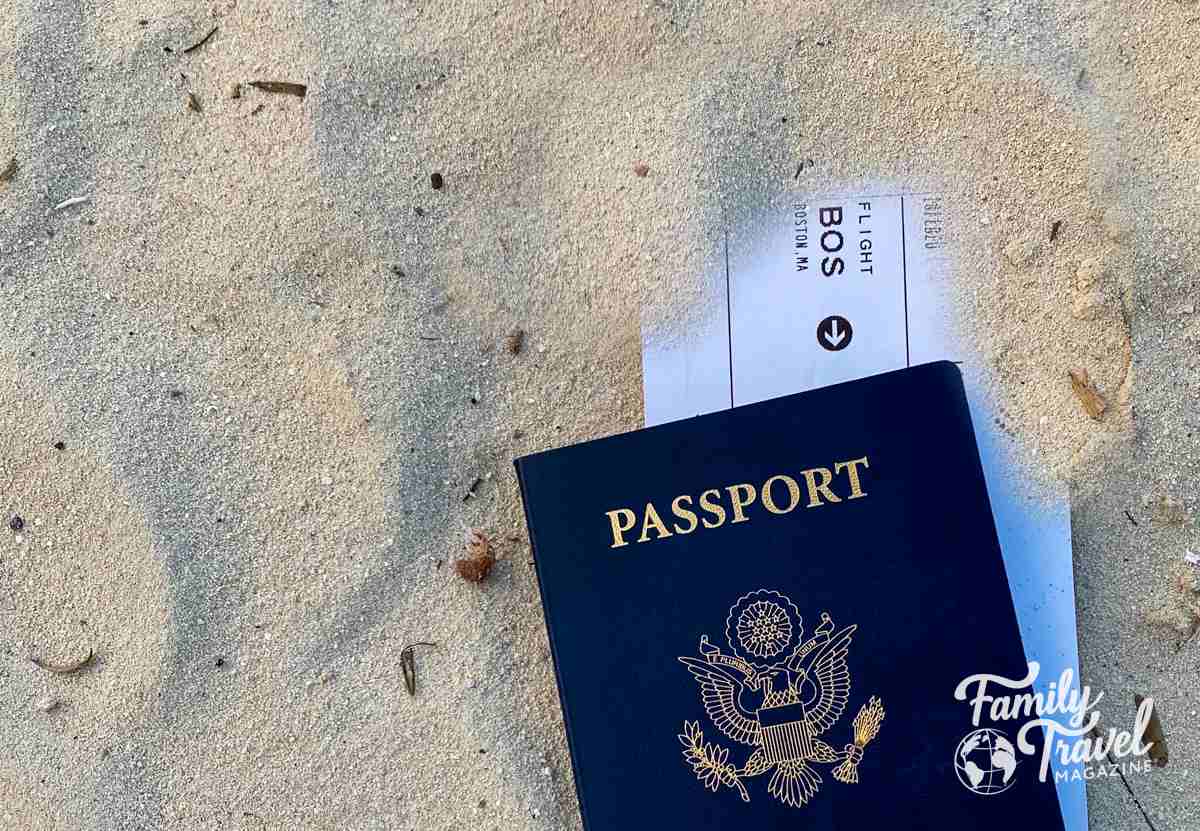
Review: Using the Mobile Passport Control App
Mobile Passport has gone through some changes over the years. It started as a free, third-party app, and then was available for a fee. That app is now discontinued, and the new app is run by the US Customs and Border Control Protection agency. This current app is free and can be found here.
It's important to note that Mobile Passport doesn't come with any special "known traveler" benefits. You won't register in advance or have a background check, and will still go through all of the standard border checks. It doesn't work at all in the TSA Pre-Check line - it's strictly used to re-enter the United States from another country.
Where Can You Use the Mobile Passport App?
Right now (as of 9/2023), it can be used at 33 Airports, 11 preclearance locations, and 4 ports. The locations are Atlanta, Aruba, Bermuda, Baltimore, Boston, Calgary, Charlotte, Chicago (O'Hare), Dallas, Denver, Edmonton, Fort Lauderdale/Hollywood, Halifax, Honolulu, Houston George Washington, Houston Hobby, Kansas City, Las Vegas, Los Angeles, Miami, Miami Seaport, Montreal, Nassau, Minneapolis, New York (JFK Int'l Airport), LAX, Miami, Minneapolis/St. Paul, Newark, Oakland, Orlando, Ottawa, Palm Beach, Philadelphia, Phoenix, Pittsburgh, Port Everglades, Portland, Sacramento, Salt Lake City, San Diego, San Francisco, San Jose, San Juan Airport, San Juan Seaport, Seattle, Tampa, Toronto, Vancouver, and Winnipeg. This full list is subject to change.
There are an increasing number of mobile passport locations, so check back if yours isn't currently on the list.
How Do You Use the Mobile Passport App?
To use, you'll first want to download the mobile app. It's free on the Apple App Store and the Google Play Store. Once you download it, you can set up profiles for each of your family members. That process was so easy - I was able to scan the barcode on each passport and then validate the passport information.
It was all correct as scanned, but you do need to check it. Then, you have to snap a picture of each person.
Unless something changes (i.e., you get a new passport), it's not something you should need to do each time you travel. It should save the information you input for future travel.
Once you are ready to return to the United States, you will need to go into the app on your mobile device and fill out a few questions with the customs declaration information about your trip. This replaces the paper customs declaration form that we've received in the past. You'll also need to take a photo of each person.
I always hated searching for a pen and needing to fill out that paper form while I was on the plane. When you have WiFi or cellular data access (you do need an internet connection), you'll need to submit the information, once you confirm it.
You limited time from when you submit it to actually go through US Customs and Border Protection (CBP), so you'll want to make sure you do it when you have landed at the arrival airport or are about to land. Just like with the form, you are confirming that this information is accurate under penalty of law.
I found it easy to fill out the information, and I submitted it as I was waiting for the cabin door to open on my flight. After I submitted it, I got a QR code electronic receipt for each member of my family.
Upon deplaning the flight, we entered the terminal and looked for the mobile passport app signage. It may take a little while to find, and you can always ask someone.
We were able to bypass the kiosks and go directly into the special line to talk to the agents. This definitely saved us a lot of time, since most people on our flight had to wait for the kiosks.
When we met with the CBP officer, I provided him with the bar codes and our passports (note that the mobile passport app does NOT replace your US physical passport - you still need to have those).
While we did save time in line, we still had to wait for our luggage at the carousel. It didn't take too long to come out, but we did get through Customs and Border Protection so quickly that our luggage hadn't made it from the plane to the carousel yet.
I definitely think the Mobile Passport App is a great way to save time at the airport if you and your families aren't global entry members. If you don't travel internationally on a frequent basis, and you typically fly through an airport that uses the app, it's a nice option.
The fact that it's no-cost and easy to use makes it worth trying. Keep in mind that there are some restrictions on who can use it and mobile passport users may always be selected for additional questioning.
On some trips, I've found that I didn't even need it because the customs line was short. But it's always nice to have options.
Frequently Asked Questions about the Mobile Passport App
It's a free app and is easy to update. Therefore, unless every member of your family is a member of the Global Entry program, it's a good idea to install it and set it up.
No. While you will get TSA PreCheck with Global Entry, you won't have that service with the app. The only way to get TSA PreCheck is to go through the regular channels (TSA PreCheck, Global Entry, etc.).
Yes. Up to 12 profiles can be added, so you can add the entire family.
Yes, you'll still need to travel with and show your physical, valid, unexpired passports.
Currently, mobile passport control can be used by U.S. citizens, U.S. lawful permanent residents, and Canadian B1/B2 citizens visitors.
You may notice the list above of locations includes some foreign international airports. Those are preclearance locations, where CBP personnel inspect travelers on US-bound flights. If you go through preclearance at these airports, you won't need to go through customs and border patrol when you arrive in the United States.
Have you used the Mobile Passport App?


Leave a Reply